Around One Hundred Things you can do with a Baby ::( well , almost ))
Numerous Lights and Lighting fixtures were introduced to serve motion picture industry for almost 100 years of film Industry, Many lights now faded away with time for various reasons but one light remains very special and still seen on the sets even today.
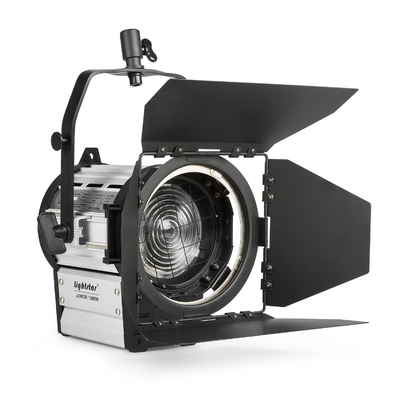
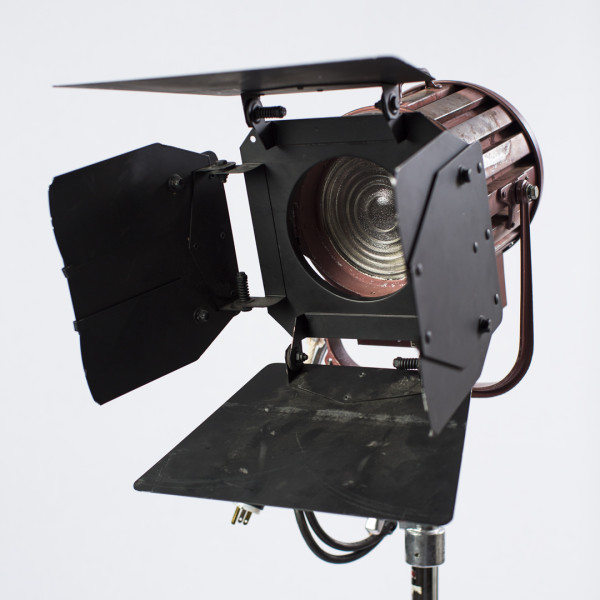
Baby , that’s how we fondly call the 1k Tungsten Fresnel Light. One of the first and foremost lighting fixture in the basic tools of lighting.
Recently, I had the opportunity of introducing this light to a young group of budding cinematography aspirants. It set me to think, what are all things, one could do with this light. I started listing it out extensively, starting from the very basics .
Some of the points looked very naïve, on the surface of it.
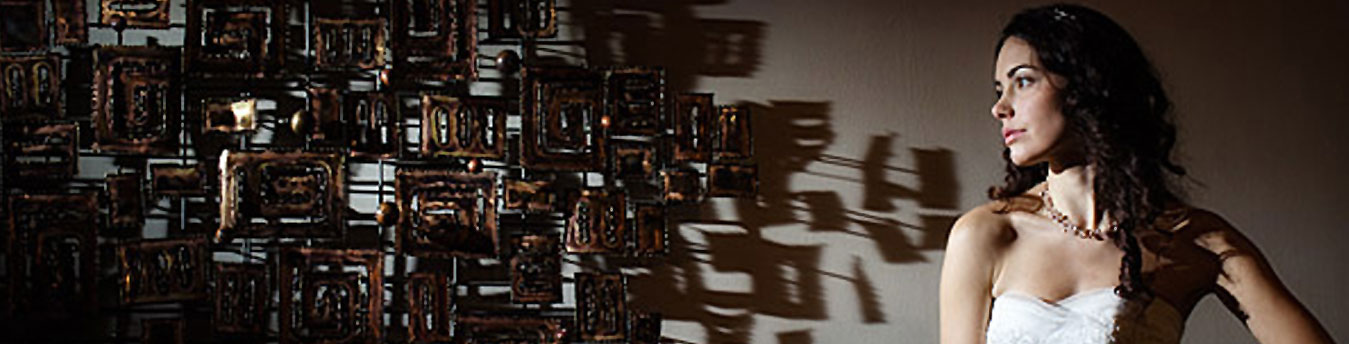
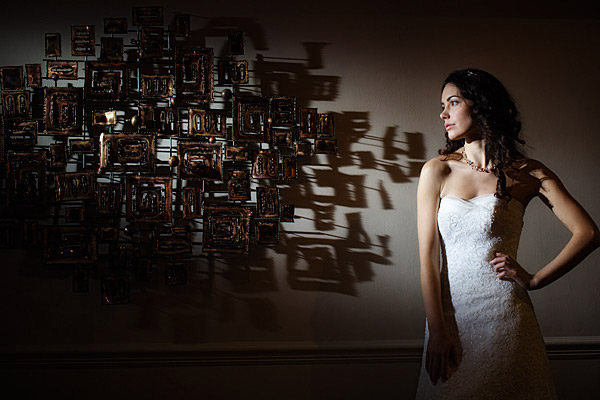
But on deeper thinking , each and every one of the act in the following list, certainly affects the light output , the way the light falls off, its spread , its quality and hence at the end , its aesthetics.
Its also true that many of the acts in the following list , could be applied to a broader spectrum of other lighting fixtures too. So, in essence, this could be a rough template, for all that lighting fixtures too.
Lets jump into the list :
- Put it On
- Take it very close to the subject
- Take it far away from the subject
- Centre it properly on the subject
- Offcentre it from the subject to use the penumbra of the beam
- Heighten it up in the normal stand
- Shorten up its height with a half-stand
- Put it on a low base
- Keep it flat on the ground
- Make it full strong
- Make it full soft
- Open the Fresnel to make it flat
- Put it on a Dimmer and dim it to any required intensity
- From total dark it can be brought into life with the dimmer
- From full bright ,it can be darkened with the dimmer
- Put a barn door and use the four doors to shape the light
- Put a Full Net to reduce intensity from the same place
- Put a Half Net to reduce intensity
- Put a Quarter Net to reduce intensity
- Use a Flag very close to the light to cut softly top or bottom or sides
- Use a Flag away from the light to cut sharply top or bottom or sides
- Use four flags from top , bottom , left and right to create rectangular patch of light
- Use a pattern on the light, to get a pattern shadow in the background.
- Use a pattern on the light , to get a pattern shadow on the subject
- Put it straight on the face of the subject
- Put it from exactly behind the subject
- Put it from the left half of the subject
- Put it from the right half of the subject
- Put it from the left 3/4th from the front of subject
- Put it from the right 3/4th from the front of subject
- Put it from the left 3/4th from behind the subject
- Put it from the right 3/4th from behind the subject
- Hang it above at dead top of the subject
- Punch it from dead bottom of the subject
- Take it handheld and follow a movingsubject
- Put it on a trolley travel to simulate a moving light
- Swivel / rotate it on the stand itself to simulate lighthouse effect
- Put a Lightning Shutter in action in front to create a lightning effect
- Put a snoot to create a narrow shaft of light
- Use a Gobo on the snoot to get a pattern
- Punch it on a Mirror , to get a specular reflected light
- Bounce it on a White Thermocole
- Bounce it on a GreyThermocole
- Bounce it on a Gold Thermocole
- Bounce it on a Reflector Board , Hard side or Soft side
- Bounce it off a Soft Silver
- Bounce it on a Ceiling of an interior room
- Use a Butter Paper on the barndoor
- Use a 216 Diffusion paper on the barndoor
- Use a 216 Diffusion Frame very close to the light
- Use a large216 Diffusion Frame far away from the light
- Bounce it on a thermocole and then use a large Diffusion Frame for that bounced light
- Diffuse it with a first diffusion frame and then double diffuse it on a large , second diffusion
- Diffuse it through a Grid cloth
- Diffuse it through an acrylic sheet
- Use a 216 diffusion frame on only the lower half of the light
- Use a 216 diffusion frame on only the upper half of the light
- Diffuse it through a Honeycomb and aGrid Cloth
- Bounce it on a thermocole behind a transparent signboard
- Use a CTB , to bring color temperature to 5600 K
- Use a CTO to make it much more deeply warm
- Use localcolor gels to get acolored light
- Use it through ProfessionalColor Filters to get a professional controlled color tone
- Use cookies /patterns very close to the light
- Use cookies / patterns far away from the light
- Punch it into a cloud of smoke to get atmospheric light space
- Dim it up and down , quickly to get a flickering effect
- Hang different color gel strips infront of light and move it across to get a TV screen effect
- Position it on a Rostrum , for extreme heights
- Centre it from a Catwalk in a studio
- Hang it from a Beam-Clip in a location
- Hang it from a Rope to swivel across
- Put it on during the shot
- Put it off during the shot
- Put it behind a fan to get a moving shaft pattern
- Put it on a dimmer and keep it in the frame background , without creating lens flare
- Centre it into the lens to get flare , from within the frame or outside the frame.
- Use it as a practical within the frame, camouflaging
- Mount it on a moving car,to light up interior with a portable power unit
- Light from the bottom through a glass in the ground
- Light up rain water from behind
- Or , finally , if you don’t want it just Put it Off
 To, reiterate, each and every one of the above acts, changes the light output and hence the aesthetics of the shot.This is just only one Baby we are talking about. Think about the many no. of babies and other lighting fixtures present in a typical shoot set. And hencethe amount of light effects , possible.No wonder , even in this age of really high sensitive digital sensors , light fixtures and lighting are very essential , to create and control the mood of a shot.Mahesh MuthuswamiCinematographer